Electrical Board Repair
Carrying out electrical board repair correctly is all about perfecting the basics. When we talk about electricity it is quite simply when a charge goes from one electron to another igniting it through a circuit board. As you may have guessed, a circuit board is found in every electronic device whether it is a small torch or a full-fledged laptop.
When an electrical circuit is being created to power the device, all the components are installed on the circuit board. In the beginning when these boards first came out they were obviously manually manufactured and were very brittle and prone to overheating and damage and continuous maintenance was required.
Since then there has been considerable development so now we have circuit boards which can withstand pressure and heat to quite a high level before sustaining any kind of damage. Damage to and breakage of the circuit board still occur though and components like the eyelets, pads or the traces may need replacement which is why electrical board repair is such a useful skill to have.
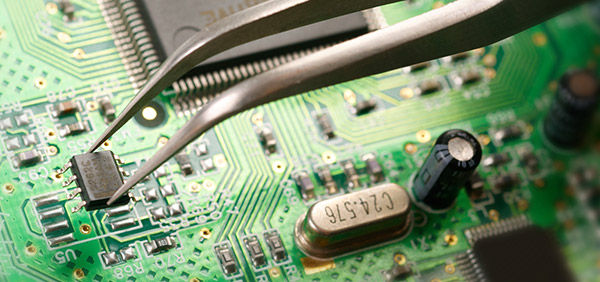
The board usually consists of the below mentioned components and the one that has burnt out or stopped functioning is dug out and replaced or repaired by using something like a conductor pen or home-made alternatives that have narrow tips and can reach inside the tiny traces.
1) Solder mask
2) Silkscreen
3) Fiberglass or substrate as it is sometimes known
4) Copper
Many decades ago the circuit boards would have a single layer but due to the complexity of gadgets nowadays you can expect multiple laminated layers in the board. Newer developments just means newer components which are hard to spot sometimes largely due to their size. Professionals that carry out repair jobs receive training on each layer of the circuit board and how to repair and rework connections.
If you are unsure what the exact problem with your circuit board is then there are a few certified steps you can carry out or you can hire a professional who will do this evaluation for you but from a price point it is not always the best choice.
• Give the solder joints a good look. If anything looks loose or if it is dangling you have your problem right there and it needs to be soldered back into position preferably using a soldering iron and some super glue epoxy.
• Troubleshoot the elements
• Check out the circuit traces for discoloration or gaps
• Visual inspection of the entire circuit is again essential as you need to look for cracks or changes in color to determine what is wrong with your circuit board.
• Carry out a functionality test
Learning For Yourself
If you are looking to become proficient in the task of repairing damaged circuits you can take online courses or courses near you which specialize in the study of circuitry. While an entire degree may not be devoted to this, diplomas can last upwards from a couple of months to a few months with job opportunities of becoming a technician waiting for you afterwards.