Computer Board Repair
Everyone’s life revolves around computers nowadays and there is no escaping that so when there is a potential computer board repair situation looming overhead because the motherboard got heated up and cracked or one of the traces needs to be replaced it is an issue you want resolved as quickly as possible. The printed circuit board on a computer is called the motherboard and fixing it is simpler than you may have thought.
Things You Will Need
• An Epoxy kit (pre-mixed kits are always ideal since they save time and make less of a mess)
• A screw driver (the smaller the better)
• Solvent
• A soldering iron with a very precise and narrow tip (for locating smaller traces)
• Powdered fiberglass
• A small drill with a very small tip
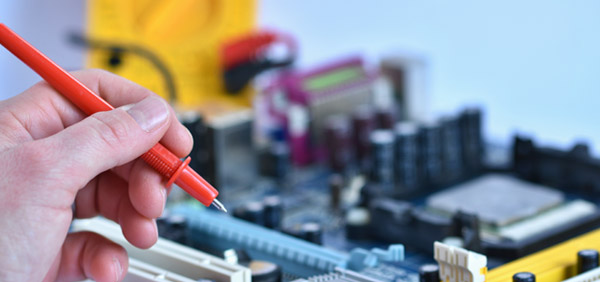
The first step is removing the motherboard and really giving it a good evaluation (you may want to use a microscope for this). Usually the part that is damaged or burnt out is apparent due to an obvious discoloration. This change in color when compared to the rest of the board may be slight but it is still detectable and this gives you a place to start.
Next you want to see how deep the burn goes as that determines the components you will need to replace. The board may go black or dark brown in the areas where it is burnt out or damaged. Use a screwdriver or a small sharp clamp to cut out or lift the damaged area and then clean around it with an alcohol swab. Make sure you don’t touch the rest of the board. If you carelessly leave any excess particles behind it can cause electrical connectivity problems later.
Fill up the gap in the circuit board with epoxy super glue. Be precise with the application and allow to dry without applying any additional pressure. If you are joining two parts of the circuit and the damage wasn’t extensive to the point of causing a change in color then you may need to hold the board together with clamps till the glue has had time to solidify.
Bear in mind that there are thin layers of lamination covering the circuit board which you need to cut through and then also replace to protect the repair work you have done. The next step after filling in the gap that was cut out is smoothing the surface to get an even base.
This is where the soldering iron comes into play but you need to be mindful of how large the tip is as that will impact the quality of the end result. Make sure you buy a soldering iron which is specifically made for repairing circuits. If you don’t want to solder the gap you can always drill holes using a small tip drill and insert screws but this is not recommended unless you have a really steady hand and won’t risk cracking the rest of the board which functions just fine.