Circuit Card Repair
A circuit card is a little different from circuit boards as it is smaller and more compact and is found in computers and debit cards just to state a few examples. It is also designed to carry out more complex tasks since it is usually assisting a process rather than powering a device. As with regular circuit boards they can get damaged due to a variety of factors and circuit card repair is best done by a professional although there are a few DIY options for people who are not willing to splurge.
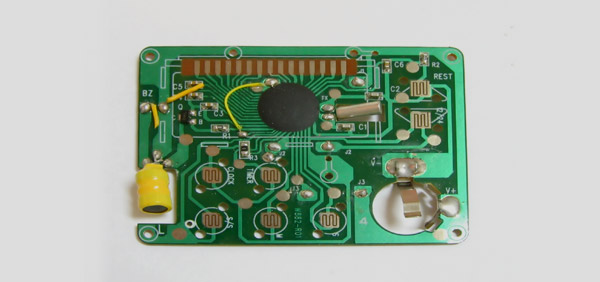
A circuit card is made up of the same material as a computer chip and can vary in size according to the device that it is going to be inserted in. The circuit cards used under bank cards are very small and embedded into the plastic and they activate when they are run through the ATM or a credit card machine. The information is essentially integrated and it becomes accessible through the two methods mentioned above.
How To Do Repairs DIY?
When you are attempting to repair a circuit card DIY you can use anything from a drill to an oven really, as long as you have some idea of what you are doing. When a circuit card has been exposed to the elements long enough there will be some visible bumps under the surface and a solder or two may have wriggled loose especially if undue pressure was applied to it.
There is no fool-proof method to repair this but you can temporarily get it working again till you can take the circuit card to an expert to have it properly examined. Remove the circuit card from the device using a small clamp or a dental pick rather than using your hands. Try to get a precision screw driver or if you don’t have that a regular one that is very small will also do the trick.
Lay down some aluminum foil and lay the card on there. After you have cleaned the card you might want to lay aside some thermal paste for covering the surface again later once you have repaired the card. Heat your baking oven to 195 Degree Celsius and lay the card on a flat baking tray.
You will then proceed to let the solder on the card melt. You can start with a lower heat setting too. Remove most plastic components before you pop the card in the oven as they are not replaceable when they melt. Once you open the oven door after 15 minutes, let the smoke escape and then look at the melted solder.
Some enthusiasts say that this process of baking the card will have evened out lumps and once it has cooled; there is a good chance that the card will work for some time at least. Cover the card with some thermal paste or grease and let that sit. This is to protect the components inside from getting more exposed than they already are. If you removed any attach-on plastic pads, now is the time to stick them back on.