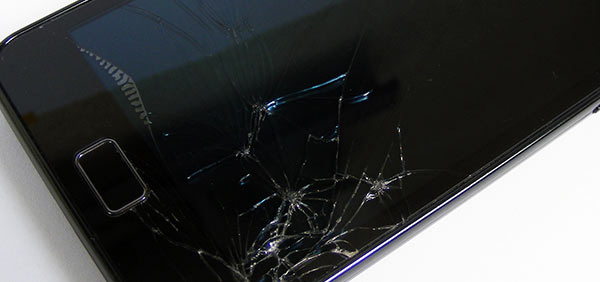
Step-by-Step Guide To Broken LCD Screen Repair
LCD is a technology that is not only used in TVs and digital wrist watches but they are also present in your smartphone and tablet. According to a survey, 50% of smartphone owners around the world have at least cracked their smartphone screen once and out of them, 23% people continue using it and don’t bother replacing it. Also, in another survey an interesting fact was revealed that around 42% of iPhone owners have an iPhone with a cracked screen. Now that’s one heck of a percentage of people that are using cracked/broken screen iPhones.
So, what’s the remedy?
Well, it’s obvious; learn to replace the cracked or broken screen yourself if availing the broken LCD screen repair service is out of the question. Here is a step-by-step guide to take on the task of a broken LCD screen repair.
Step # 1 – Open the outer cover/case of the smartphone or tablet and store the tiny microscopic screws carefully in a container or else you will be unable to find them later.
Step # 2 – Now gently detach the chassis of your smartphone or tablet from the back frame. Look out for any hidden cables that hold the chassis and back frame together. Don’t even think of separating them by exerting force or else you’ll not be able to reassemble it again on your own.
Step # 3 – After you have removed the chassis from the body frame, you will observe many other cable assemblies. Now is the time to gently remove them too. We consider it important to mention here that all the cable assemblies that you are removing have to be placed in the exact order and sequence you took them out in so that you know where to place them when reassembling the unit. After all, you are not here to tear apart the system and then run to a professional for help.
Step # 4 – Wear your gloves to protect your hand from scratches. No, we aren’t preparing to catch a wild cat; in fact we are preparing to separate the cracked glass from the front frame. It is important to be patient and use a heat gun to loosen the adhesive that holds the glass in its place.
Step # 5 – After you’ve separated the glass from the front frame, you will notice that the stickiness in the area around the bezel has been lost. Hence, you will be required to place a 2 sided tape that will firmly hold the new fresh glass in place. Place the glass in position and wipe off your fingerprints from the inside of the screen as you won’t be able to get rid of them after the unit is reassembled.
Step # 6 – The final step is to reassemble all the parts carefully and with that, presto! You have been successful in the accomplishing the task of a broken LCD screen repair.
Now, it’s time to celebrate achievement. Go grab a can of beer and show off your shiny smartphone.